If a picture is worth a thousand words, imagine what thousands of pictures played back to back at a rate of 24 to 30 images per second would be worth? That’s like a bajillion words, at least. We’d never have to write anything ever again! Lucky for us, the HTML video element does just that. Even better, it’s super easy to use. Embedding videos on a web page used to be an ugly, complicated process that usually required Flash.
Yuck, Flash is gross.
HTML 5 introduced the audio and video elements, moving us one step closer to a Flash free internet. Hooray! All the video element requires are src, width, and height attributes.
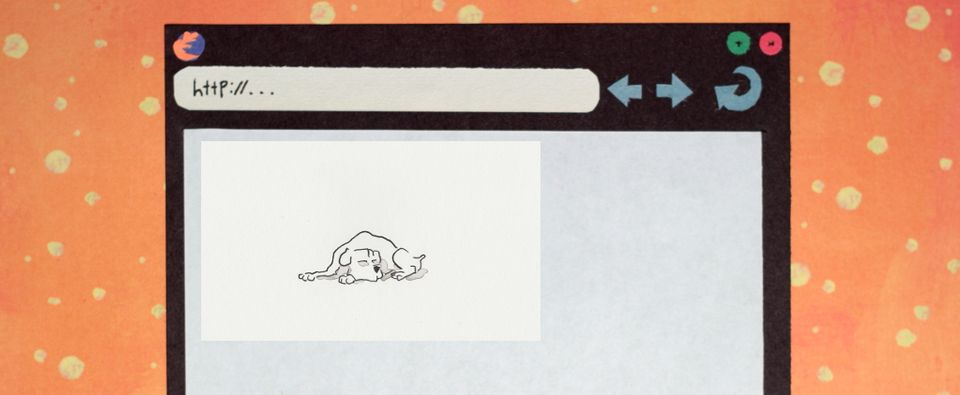
<video src="video/quickfox.mp4" width="400" height="225"></video>You probably recognize that src attribute from the img element. With videos, the src attribute is a relative or absolute path to a video file. In its most basic form, the video element looks just like the img element in our browser. By default we’ll see the first frame of the video, which is probably not the most enticing image. We can use the poster attribute to set a custom image for display while the video is downloading and before it is played.
<video
  src="video/quickfox.mp4"
  width="400"
  height="225"
  poster="img/quickfox.jpg"
></video>

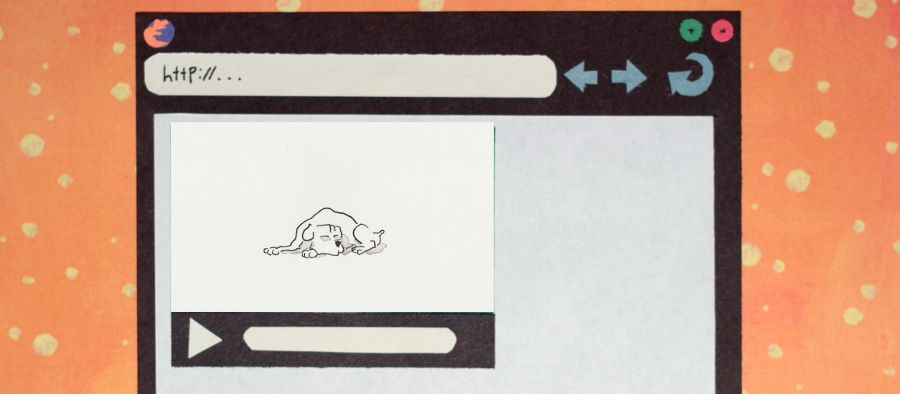
That looks sharp, but it’s not clear that this is a video. Visitors to our web page may not realize that they can click on the image to play the video, so we should use the controls attribute to include playback buttons.
<video
  src="video/quickfox.mp4"
  width="400"
  height="225"
  poster="img/quickfox.jpg"
  controls
></video>
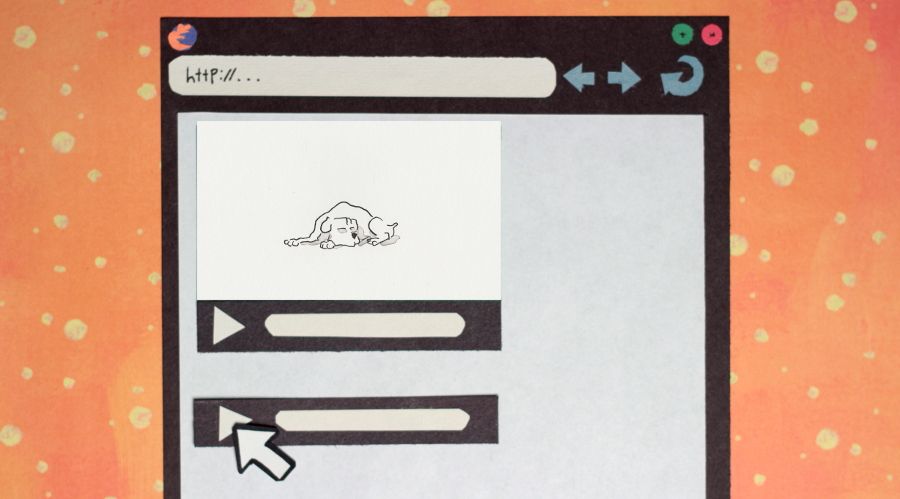
Every browser that supports the video element will display the controls differently. It is possible to build completely customized playback controls, but that requires some JavaScript and CSS know-how that we’re not quite ready for. The default controls are perfectly acceptable for the time being.

Video elements have a few more boolean attributes that you might find annoying. I mean useful. The loop attribute will start the video over at the end, playing it endlessly until the user stops playback, and the autoplay attribute will cause the video to play automatically when the web page is finished loading. While these attributes do have their application, please be careful with them. They can (and probably will) irritate your visitors.
I wish that was all there was to the video element, but the truth is that supporting multiple browsers gets a little hairy. Every browser that supports the video element has specific video codecs that it is capable of playing. That means we need to encode our video with several different codecs so that every browser can play the one it likes. Codecs are a way to compress digital media. There are dozens of video codecs, but the ones you should know about for web videos are H.264, vp8, and theora. Each type of encoded videos is housed in a different type of container. Again, there are dozens of video containers, but for web videos you only need to know about mp4, webm, and ogg. We’ll talk more about converting videos for the web later. For now, we’ll pretend that we have transcoded our video into the three web supported formats already. To specify multiple video sources in our video element, we’ll need to use the source element, rather than the src attribute. The source element requires two attributes: src and type. The src attribute is the path to the video file, and the type attribute is the mimetype of said file. A mimetype is an identifier used to indicate the type of data a file contains.
<video width="400" height="225" poster="img/quickfox.jpg" controls>
  <source src="video/quickfox.mp4" type="video/mp4" />
  <source src="video/quickfox.ogg" type="video/ogg" />
  <source src="video/quickfox.webm" type="video/webm" />
</video>
Most modern browsers should be able to play our video now, but we should have a backup plan for people using old, crusty browsers that lack video support. We can hide a secret message inside of the video tag that will only display if the browser doesn’t support the video element.
<video width="400" height="225" poster="img/quickfox.jpg" controls>
  <source src="video/quickfox.mp4" type="video/mp4" />
  <source src="video/quickfox.ogg" type="video/ogg" />
  <source src="video/quickfox.webm" type="video/webm" />
  <p>Video of a quick brown fox jumping over a lazy dog</p>
</video>
The audio tag works almost exactly like the video tag, the main difference being the type of files and codecs we need to use. For audio, we’ll need an mp3 and an ogg file.
<audio controls>
  <source src="audio/fox.mp3" type="audio/mpeg" />
  <source src="audio/fox.ogg" type="audio/ogg" />
  <p>Audio recording of what the fox says.</p>
</audio>

Super easy, right? Now go forth and share your video and audio recordings on the web!